


You've brought home a juniper, ficus, or elm, set it on the bench, and opened a bonsai tree wire kit with more coils than you expected. The tree is ready, the wire is still bent from the shop display, and the obvious question arrives: which gauge goes on which branch?
That hesitation is useful. Choosing wire that's too thin can leave a branch springing back, while an oversized coil can put unnecessary pressure on bark. A good starter kit should make branch matching straightforward, offer enough wire to finish a tree, and help you shape without turning the first styling session into a lesson in scars.
The Wire Kit Moment Every Beginner Hits
The first mistake usually happens before the wire touches the tree. A beginner grabs the largest coil because the trunk looks substantial, or chooses the smallest because the branches appear delicate. Both choices can fail for the same reason: wire works through a relationship between wire diameter and branch thickness, not through a universal “bonsai wire size.”
A bonsai tree wire kit should solve four practical problems. It should give you enough gauges to match the trunk, primary branches, and finer growth. It should help you decide between softer aluminum and stronger copper. It should include a sensible amount of wire instead of a single spool that becomes useless as soon as the branch size changes. It should also support safe removal, because even a perfectly placed wire can scar a growing branch if you forget it.
The modern kit reflects a relatively modern styling method. Bonsai practitioners used string and rope before aluminum and copper wire became common, and metal wiring developed during the twentieth century. Today's kits usually bundle multiple gauges because a tree isn't built from branches of one uniform thickness. A seven-piece aluminum kit, for example, may include 1.0 mm, 1.5 mm, 2.0 mm, 2.5 mm, 3.0 mm, 3.5 mm, and 4.0 mm rolls. That range illustrates the central shopping principle described in Bonsai Empire's wiring guidance, matching wire to the part being shaped rather than buying one oversized coil.
Bench-tested advice: If you're unsure which wire to use, start smaller and test its holding power on a less important branch. It's easier to step up a gauge than to repair bark damaged by excessive pressure.
The rest of the decision becomes much easier once you measure branches instead of guessing from the color or size of the spool.
The Engineering Rule Behind Good Wiring
The foundation is simple: choose wire with a diameter of roughly one-third the thickness of the branch you're shaping. Measure the branch at the thickest point involved in the bend, not only at its tip. This proportion gives the wire sufficient strength to guide the branch while preserving room for natural thickening.
Wrap the coil at approximately a 45-degree angle. A shallow spiral tends to slide when you bend. A steep, tight spiral concentrates pressure and can press into the bark. The correct angle creates a steady line of support, with small spaces between the wire and the branch rather than a strangling band.
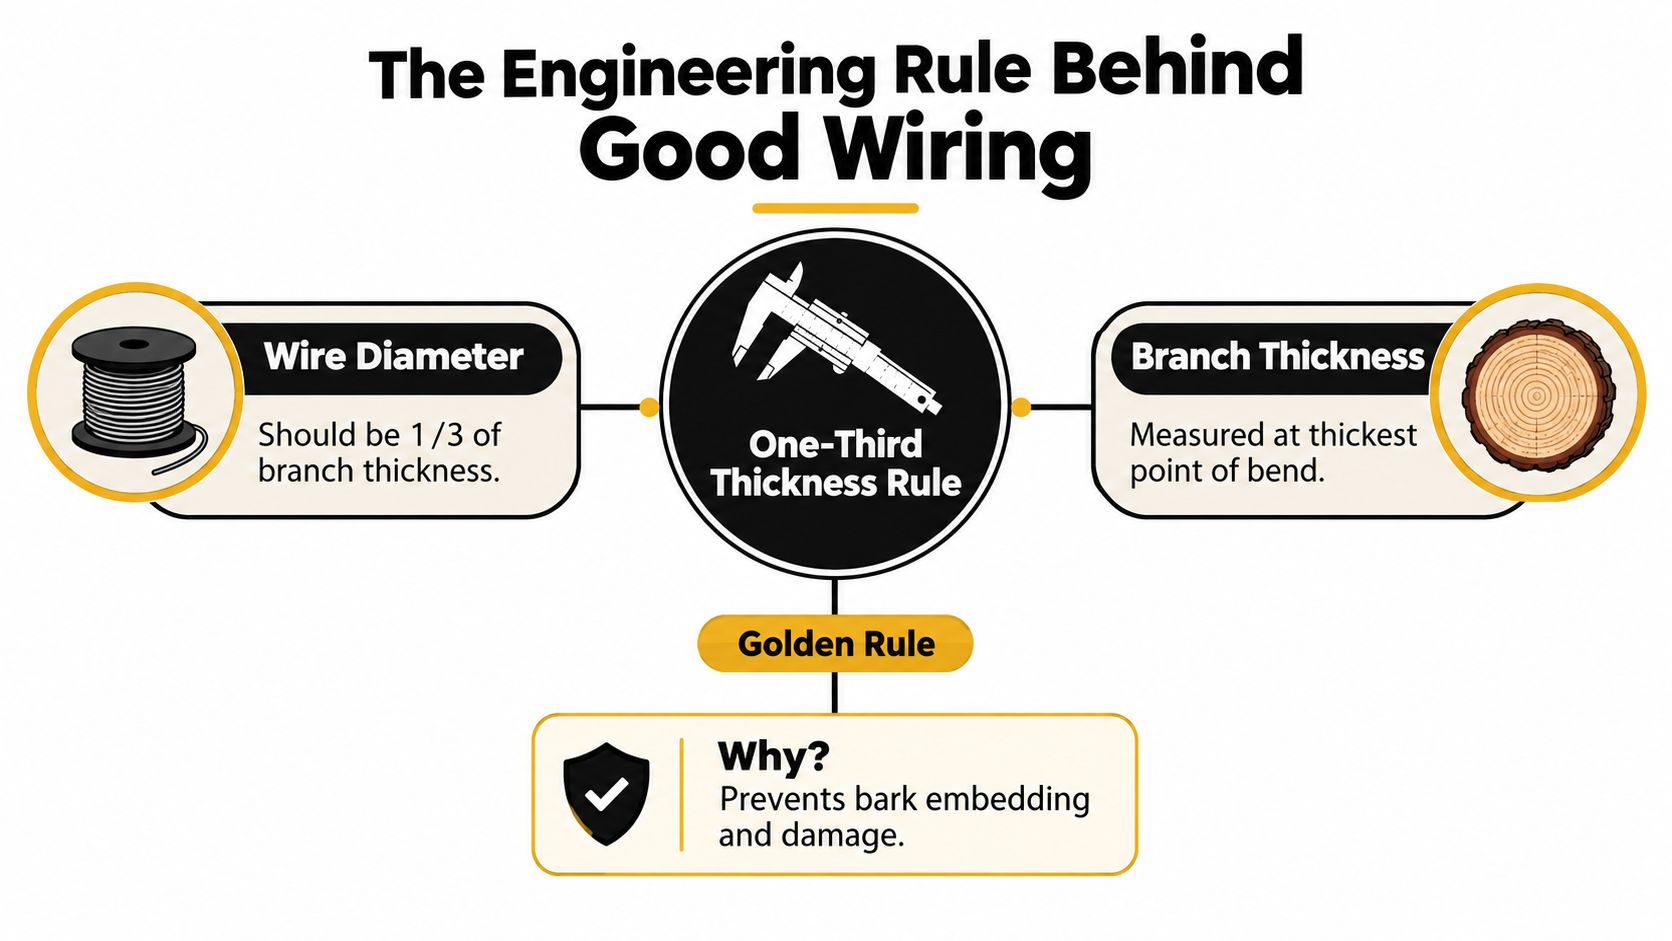
Match the coil to the bend
Use this quick visual process at the bench:
- Inspect the thickest part of the bend. A branch that narrows quickly may need wire selected for the heavier section, especially if the curve begins close to the trunk.
- Compare wire and branch side by side. You don't need laboratory equipment. A ruler, caliper, or careful visual comparison will improve your selection.
- Test holding power before committing. Place a short section of wire against a comparable branch and flex it gently. If the wire folds easily while the branch resists, choose a larger gauge.
- Leave the coil orderly. Overlapping turns create pressure points and make later removal harder.
The same principle applies from trunk to branch tips. Larger gauges suit substantial wood, while finer gauges belong on secondary and tertiary growth. Don't force a thin wire to perform a heavy bend just because it's easier to wrap.
Length matters too. Bonsai guidance recommends cutting wire at roughly 1.3 times to 4 times the branch length, depending on the tree part and technique, with at least two anchor turns often needed for stability. Bonsai Empire's wiring guide explains the ratio-based approach. A short piece saves almost no material if it slips halfway through the bend and has to be removed.
Aluminum Versus Copper Wire
Aluminum is the forgiving choice for most beginners. It's soft, easy to coil, straightforward to unwind, and available in anodized colors that make spacing visible against foliage and bark. That softness also means it may need a larger gauge, extra anchoring, or a different technique when you're setting a stubborn branch.
Copper holds more firmly because it work-hardens as you bend it. Experienced growers often prefer it for demanding work on conifers, where strong grip and careful positioning matter. The trade-off is that copper is less forgiving during installation and can embed more aggressively if you leave it in place after the branch begins to swell.
| Factor | Aluminum Wire | Copper Wire |
|---|---|---|
| Handling | Soft and easy to shape | Stiffer and becomes firmer during bending |
| Holding power | Moderate, suitable for many beginner projects | Strong, useful for demanding bends |
| Reuse | Often easier to unwind and reuse | More likely to kink or harden during handling |
| Beginner tolerance | More forgiving when learning | Requires more control and closer inspection |
| Typical use | Ficus, elm, maple, young juniper, and general styling | Conifers and branches that need firmer support |
Aluminum is usually the sensible starting point for ficus, elm, maple, and young juniper. Copper earns its place when a branch resists aluminum or when you're working with conifer material that needs stronger support. A deeper explanation of how annealed copper behaves appears in this guide to annealed copper wire for bonsai.
Neither metal is automatically safe. A poorly spaced aluminum coil can scar bark, and a carefully installed copper coil can still bite into fast-growing wood. The metal affects handling and holding power, but inspection and timely removal protect the tree.
What a Starter Bonsai Wire Kit Should Contain
A starter kit should cover the branch sizes you're likely to encounter, not merely offer the largest roll for the lowest price. For a first tree, a useful aluminum range runs from 1.0 mm through 3.0 mm, while a broader package can extend to 4.0 mm for thicker trunks and primary branches. Independent bonsai guidance also recommends multiple sizes and at least 100 feet of total wire for a starter set, as explained by Bonsai4me's wiring advice.
That doesn't mean every tree needs every gauge in equal amounts. Fine wire disappears quickly when you work through dense secondary growth, while a heavy coil may last through several projects. Look for a kit that clearly states each gauge and the combined length, rather than one that only advertises a total spool count.
| Component | Specification | Purpose |
|---|---|---|
| Aluminum wire | Multiple gauges from 1.0 mm to 3.0 mm, with larger sizes useful for heavier wood | Matches wire strength to branch thickness |
| Total wire | At least 100 feet for a starter set | Reduces the chance of running out during one styling session |
| Copper option | Useful heavier gauges for conifer work | Adds holding power where aluminum may flex |
| Wire cutter | Compact cutter sized for bonsai wire | Makes clean cuts without leaving long snags |
| Storage | Original spools, rack, or storage bag | Keeps gauges separated and prevents tangles |
| Branch protection | Raffia or soft protective material | Reduces pressure on fragile bark during heavier bends |
A kit with only one gauge creates false economy. You'll either under-support thicker branches or use too much wire on fine growth. Buying separate coils can work once you know your preferred gauges, but a mixed starter set usually gives a beginner a more useful working range.
Leaves & Soul's Tree Training Wire Kit is one example of a package that combines five aluminum wire rolls totaling 160 feet, covering 1.0 mm to 3.0 mm, with a wire cutter and canvas storage bag. That composition suits many first projects, although especially thick trunks or demanding conifer bends may call for additional wire.
Wiring a Bonsai From Trunk to Branch Tips
Wiring works best as one continuous movement. Begin where the branch has the most support, usually at the trunk or a nearby anchored branch, and plan the direction of the bend before you cut the coil. If the wire has nowhere stable to resist movement, every turn will loosen as soon as you apply pressure.
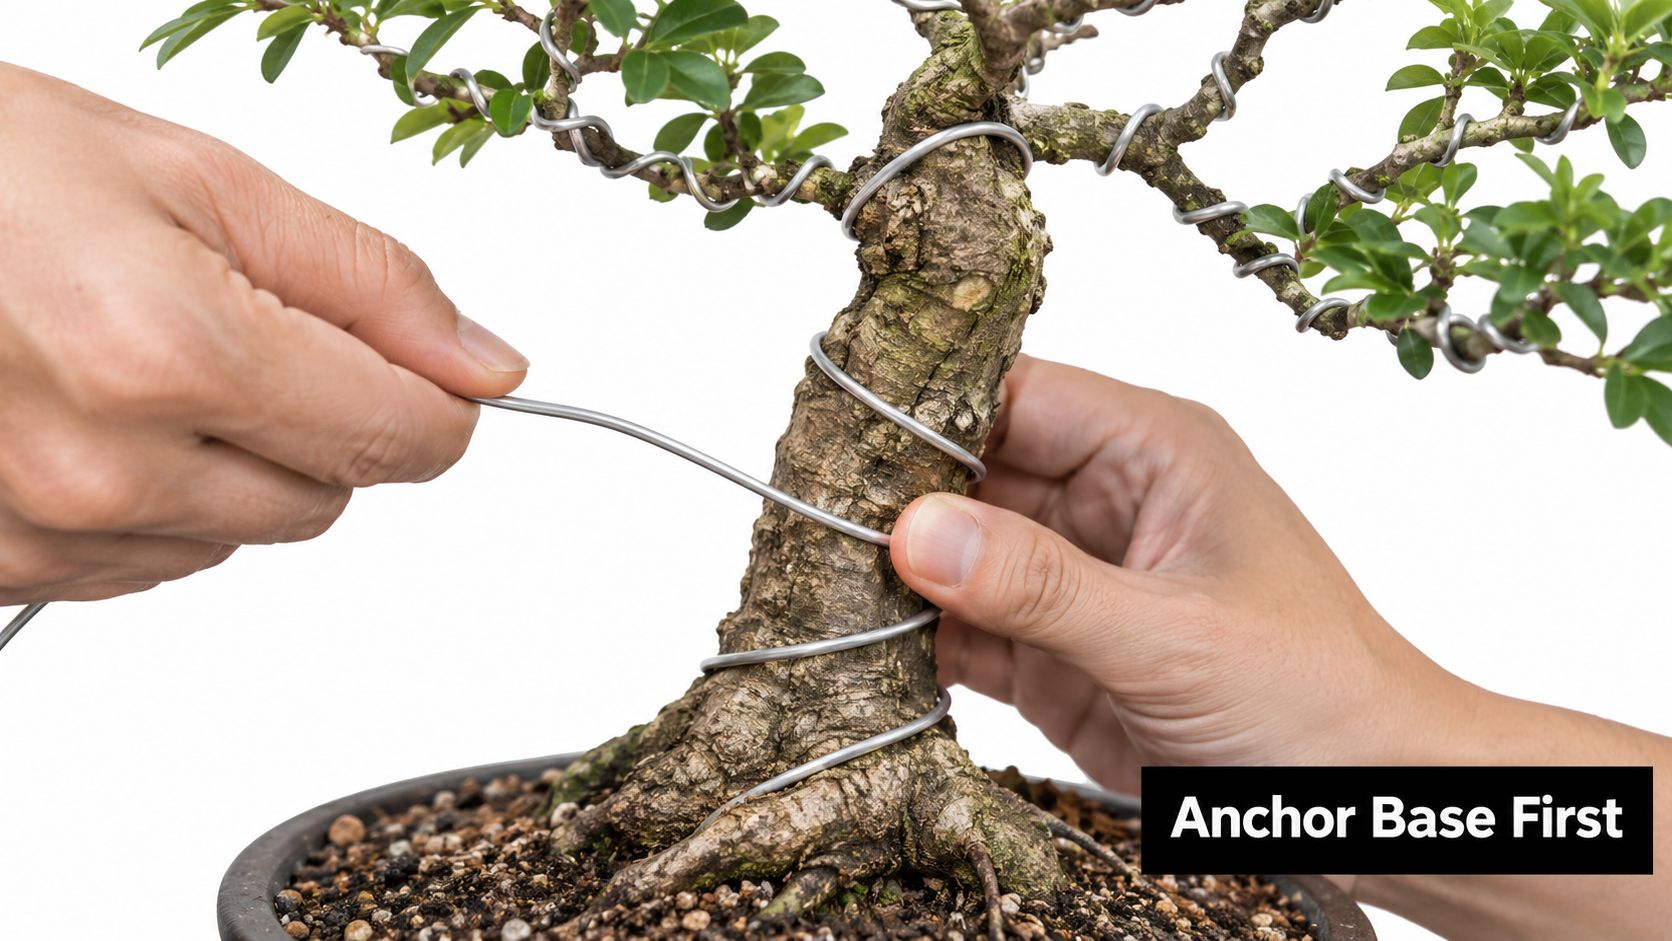
Insert the wire end into the soil when appropriate, or wrap it around the trunk with approximately two secure anchor turns. Keep those turns stable but not tight enough to crush the bark. From there, guide the wire outward at about 45 degrees, maintaining even spacing and avoiding overlaps.
Let the wire guide the branch
When two branches leave the trunk at a suitable distance, one continuous piece of wire can often support both. Run the wire along the first branch, make the bend, then carry it across to the second branch. This arrangement balances the load and reduces the amount of material used.
Wrap from the base toward the tip. Keep one hand close to the section you're wiring so the branch doesn't flex away from the coil. If a turn slides, stop and correct it immediately. Continuing over a loose coil only hides the problem beneath more wire.
The hands do the shaping, not the pliers. Place your thumbs along the outside of the curve and support the branch close to the wire. Apply gradual pressure in small movements. A faint creak is a warning to stop, not a signal to push harder.
For a fuller visual explanation of the process, follow this practical guide to how to wire bonsai trees.
Watch the wiring motion before your first major bend.
Finish by checking every coil from the trunk to the tip. The wire should touch the branch consistently without cutting into it, and the branch should move with the wire rather than wobble independently. If you need brute force to achieve the shape, the gauge, anchor, or timing is wrong. Remove the wire and reassess before the branch cracks.
Using the Rest of Your Kit With Care
Wire cutters and pliers can protect a tree, but only when you use them for narrow jobs. Cut wire cleanly at the end of a run, then remove any sharp projecting piece that could catch clothing or scratch bark. Use needle-nose pliers to tighten a loose coil, not to crush the wire against living tissue.
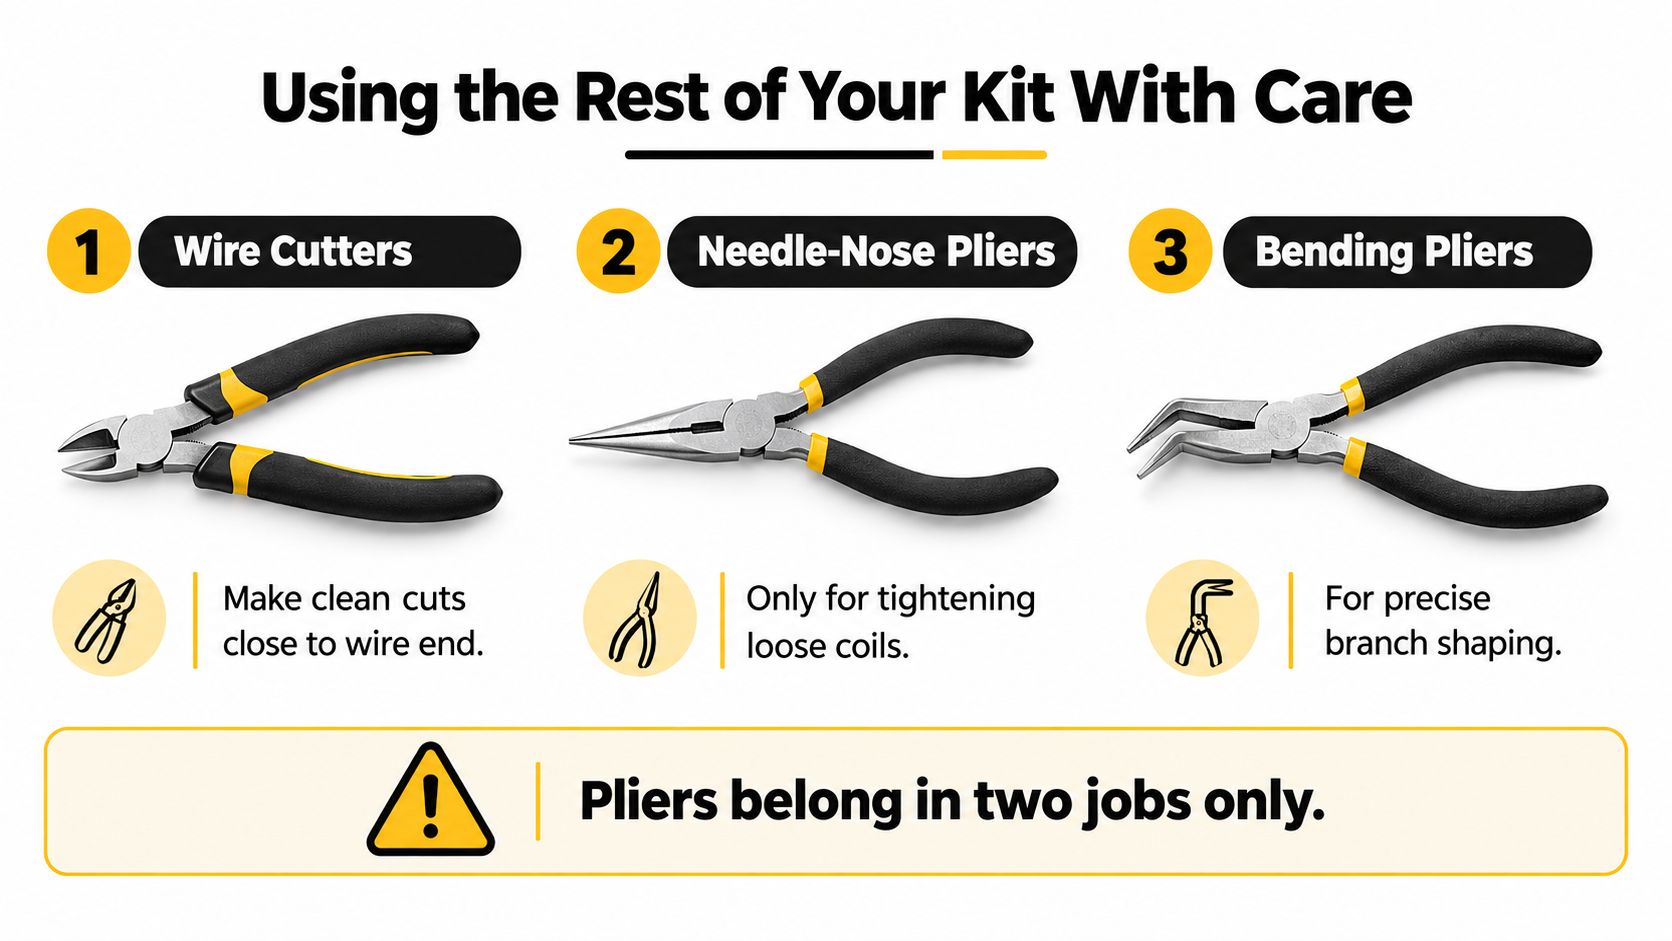
Protect vulnerable branches
Raffia or soft rubber protection helps when a branch is brittle, when the bend is demanding, or when the bark marks easily. Moistened raffia can be wrapped around the section before wiring, while soft tubing can shield a contact point. These materials add bulk, so select wire after accounting for the protected branch rather than wrapping the smallest available coil.
Secondary branches need lighter handling than the trunk. Avoid pulling them into position with pliers. Shape the primary structure first, then use finer wire for smaller growth, allowing the foliage to settle naturally around the new framework.
Jin pliers and knob cutters are useful for advanced deadwood and branch work, but they aren't essential for a beginner's first wiring session. A small cutter, a controlled pair of pliers, suitable wire, and protection for delicate wood will do more to prevent early mistakes.
Store each gauge on its own spool or in a wire rack. A tangled drawer encourages rushed cuts and mixed gauges, while clean storage lets you see what you have before starting. The best kit is the one you can reach for without sorting through a knot of aluminum.
When and How to Remove Wire Safely
Wire removal is part of styling, not cleanup after styling. Practical bonsai guidance commonly places removal around three to six months, but the tree's growth rate matters more than the calendar. Fast-growing wood can mark quickly, while slower material may hold its position longer. BonsaiList's wiring guide emphasizes frequent checks, early removal when wire begins to bite, and rewiring with a larger gauge if the branch rebounds.
Look for the first signs of pressure along each coil. A shallow groove, a darker line in the bark, or wire that appears to sink into the branch means the wire has done its job and must come off. Don't leave it in place only because the branch hasn't fully set. A temporary rebound is easier to correct than a permanent scar.
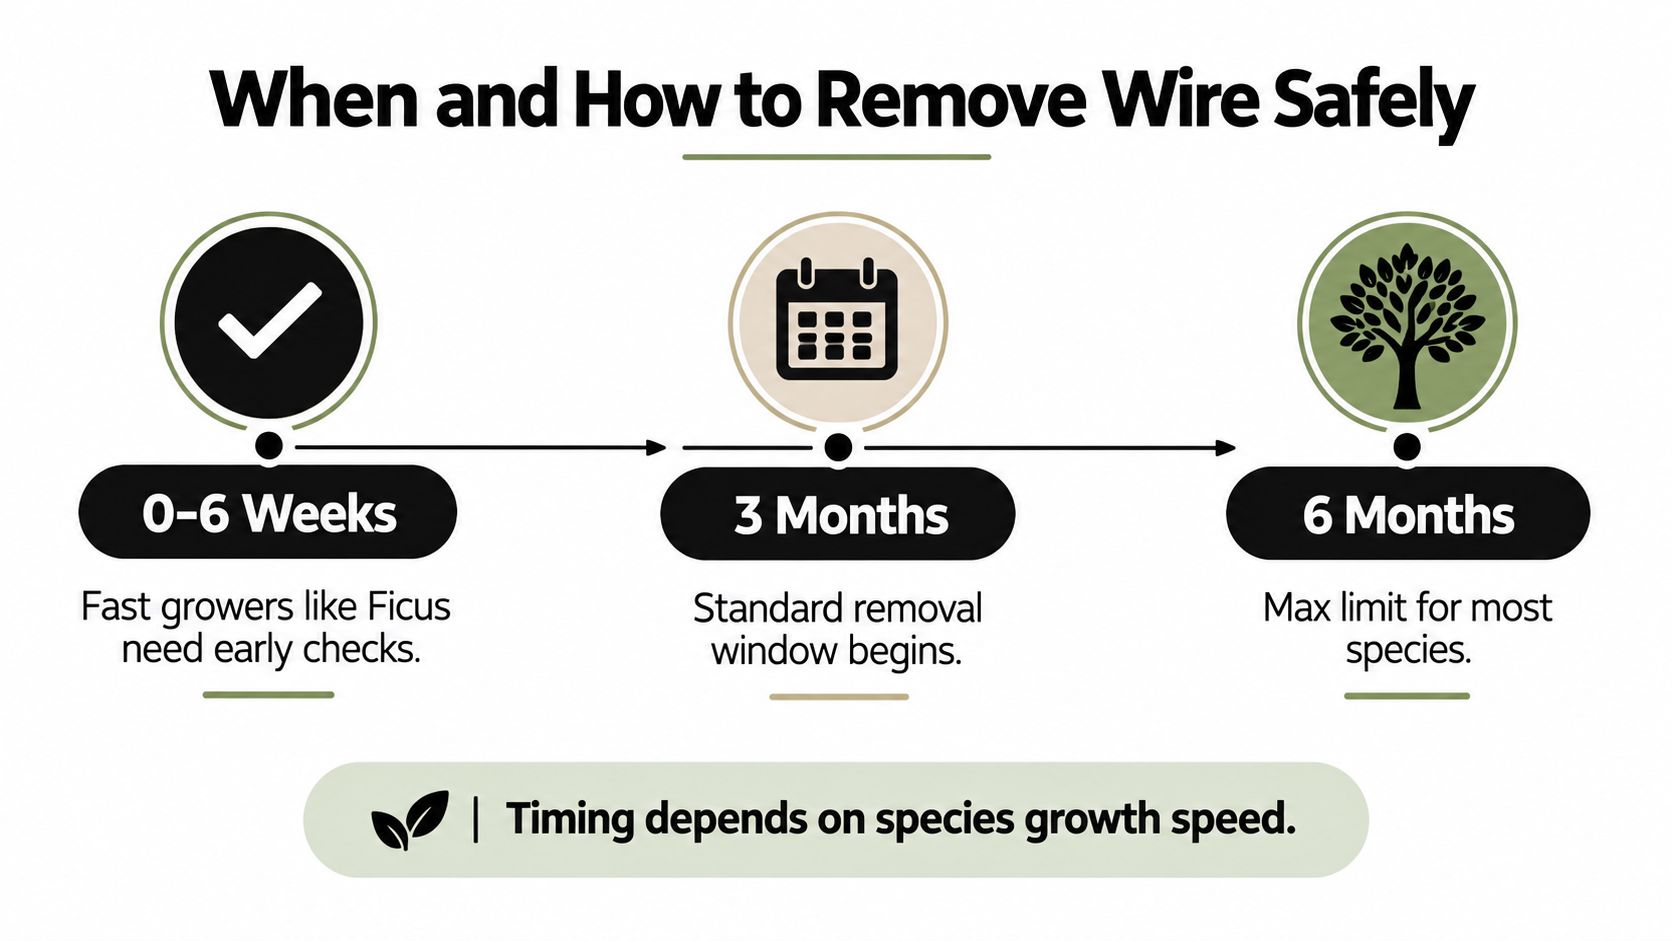
Unwind whenever the wire allows
For thin aluminum on deciduous trees, unwind the coil carefully instead of cutting directly against the branch. Reverse the original wrapping direction and work slowly, supporting the branch with your free hand. If the wire has tightened into a groove, don't force it. Cut the wire in safe sections with a bonsai cutter, keeping the tool away from bark.
Copper may be harder to unwind once it has work-hardened. In that situation, cutting the coil into manageable pieces is safer than twisting the branch while trying to reverse every turn. Never pull a wire lengthwise through foliage or bark.
Check wired trees regularly, especially during active growth. Run a fingertip lightly over the coil to notice whether the gap is shrinking, but rely on sight as well. After removal, wait before rewiring if the bark is stressed, and choose a larger gauge or a gentler bend if the branch springs back.
A good wire session ends with a healthy branch, even if the final shape needs another round. Rewiring costs a small amount of material. Growing out a deep scar costs the tree time and can change its appearance permanently.
Leaves & Soul offers bonsai wiring kits and complete bonsai sets that combine aluminum training wire with practical accessories, while its shop also carries bonsai soils, fertilizers, and pots for ongoing care. Visit Leaves & Soul to choose the wire and supporting supplies that fit your first tree, then start with one well-matched branch instead of wiring the whole canopy at once.