


Starting an indoor garden really boils down to a few key things: finding a good spot with the right light, picking plants that are happy to grow inside, giving them a proper home with good drainage, and using the right soil. It sounds simple, and it can be. With just a handful of basic tools and a little know-how, you can bring a lush, green world right into your home.
A Beginner's Guide to Your First Indoor Garden
Imagine walking through your front door into a green, vibrant space that you grew yourself. It’s not just about making your home look good; it’s that feeling of accomplishment you get from nurturing something and watching it thrive. We're going to walk through the entire process, showing you how anyone—yes, even you—can cultivate a beautiful indoor garden.
Why Is Everyone Gardening Indoors?
If it feels like you're seeing more houseplants everywhere, you're not wrong. With more and more of us living in cities, the desire for a personal green sanctuary has exploded. It’s a massive global trend. The indoor gardening market hit an incredible USD 45 billion in 2023 and is expected to keep climbing.
This boom is driven by people in urban areas—over 55% of the world's population now lives in cities. This has pushed innovation, making it easier than ever for total beginners to get started and actually see great results. You can discover more insights about the smart indoor garden market and its rapid expansion if you're curious about the technology behind it.
This guide is your first step. All the advice here comes from our own hands-on experience, especially from our work formulating professional-grade soils tailored to the unique needs of different plants.
Our goal is to help you move beyond just keeping plants alive. We want to see them flourish. Once you understand the fundamentals of light, water, and soil, what once felt like a chore becomes a genuinely rewarding hobby.
We’ll break down everything you need to know into simple, actionable advice.
Here’s what you’ll learn:
- How to read your home's environment to find the perfect spot for your new plants.
- Which beginner-friendly plants to choose for a forgiving and beautiful start.
- The secrets to selecting the right pot and soil to set your garden up for success.
- How to master watering and feeding your plants without any of the usual guesswork.
Let's dig in and get your indoor garden growing.
Choosing Your First Plants and the Perfect Spot
Getting an indoor garden off to a great start really comes down to two things: picking the right plants and finding them the right home. Nail this from the beginning, and you’ll sidestep the frustration that trips up so many aspiring plant parents. It all starts with learning to read your space, especially its light.
Before you even step foot in a nursery, spend a few days being a light detective in your own home. Forget vague advice like "find a sunny spot." You need to get specific. Notice where the light comes from and how long it sticks around.
A south-facing window is basically prime real estate for sun-loving plants, giving them hours of bright, direct light. On the flip side, a north-facing window offers gentle, indirect light all day, which is perfect for plants that would get scorched by intense sun. East-facing windows provide cool morning sun, while west-facing ones blast hot, direct afternoon light.
Pro Tip: The easiest way to map your light is to watch the shadows. Sharp, clean-edged shadows mean direct light. Soft, fuzzy shadows mean indirect light. This simple trick is your best tool for understanding your home’s environment.
Decoding Your Home’s Light
So, what happens if your only available window is shaded by a big oak tree or faces a brick wall? That's a classic city-dweller challenge, but it’s not a dealbreaker. It just means you need to be strategic and pick plants that are built for lower light.
Even in a room that feels dim, you have plenty of great options. Many of the most popular houseplants we love today evolved on forest floors, living under a thick canopy of trees. This makes them perfectly adapted to thrive indoors, far away from a direct sunbeam. These low-light heroes are your secret weapon when you're just starting out.
This whole process is a journey. You start with the basics, learn as you go, and soon enough, you'll see your garden thrive.
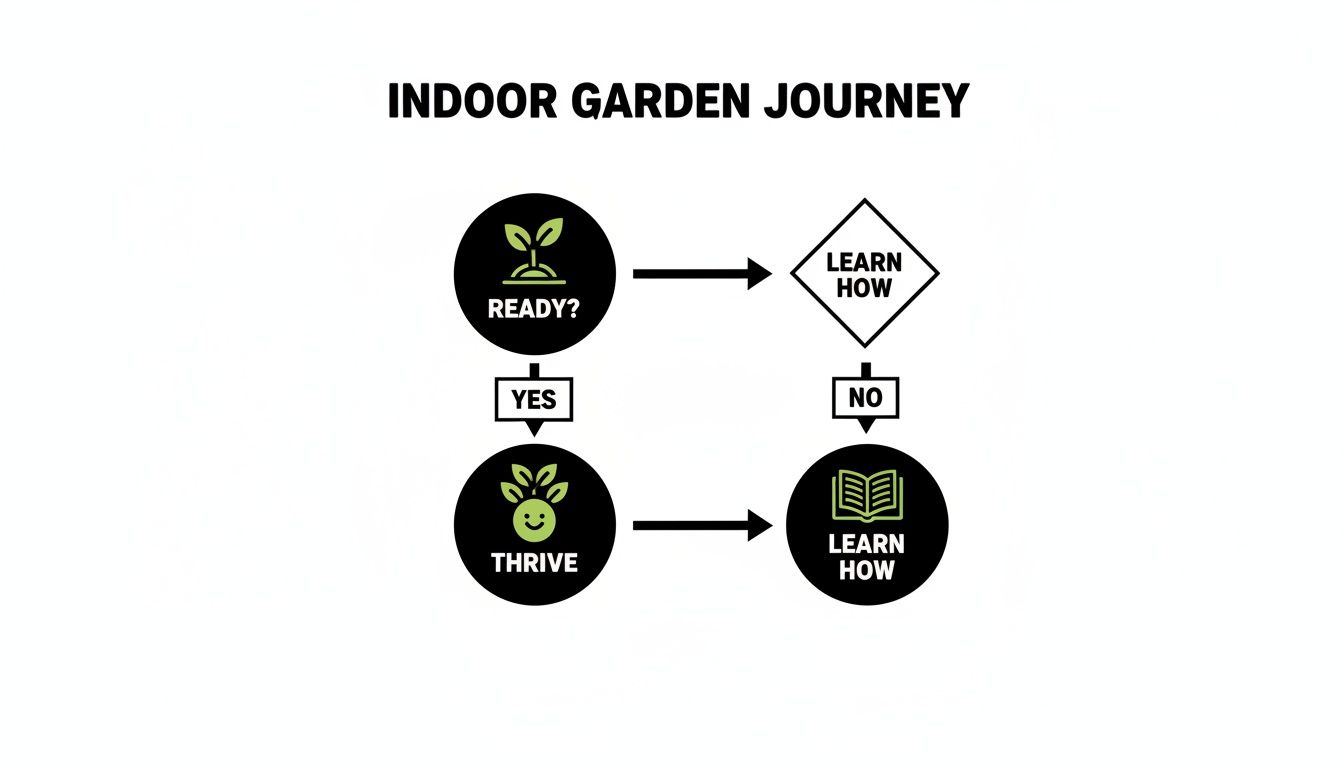
The real key isn’t having a magical green thumb. It’s about being prepared and taking the time to understand what your plants actually need.
Beginner-Friendly Plants and Their Light Needs
To help you match a plant to the light you have, here’s a quick reference table. These are some of the most forgiving and popular plants out there—it's hard to go wrong with any of them.
| Plant Type | Light Requirement | Why It's Great for Beginners |
|---|---|---|
| Snake Plant (Sansevieria) | Low to Bright, Indirect | Almost indestructible. It tolerates inconsistent watering and a wide range of light conditions. |
| ZZ Plant (Zamioculcas) | Low to Medium, Indirect | Stores water in its roots, making it extremely drought-tolerant. Looks great with zero fuss. |
| Pothos (Epipremnum) | Medium to Bright, Indirect | A fast-growing vine that visibly droops when it needs water, taking the guesswork out of your routine. |
| Spider Plant (Chlorophytum) | Medium to Bright, Indirect | Resilient and produces “babies” that are super easy to propagate, which is incredibly rewarding. |
| Succulents/Cacti | Bright, Direct | Perfect for that super sunny spot. They need very little water, but a lot of light to thrive. |
Starting with one of these gives you a fantastic buffer while you're learning. They bounce back from mistakes and help you build confidence.
Your First Forgiving Plants
Now that you're armed with a better understanding of your space, you can confidently choose your first green friend. My advice is always the same: start with something known for being tough. These "forgiving" plants can handle a bit of accidental neglect, giving you room to learn without the heartbreak of a dying plant.
Some of the most bulletproof options include:
- Snake Plant (Sansevieria trifasciata): Seriously, this plant thrives on neglect. It can handle low light and you only need to water it when the soil is completely dry. Its modern, upright leaves look great in any room.
- ZZ Plant (Zamioculcas zamiifolia): The glossy, waxy leaves make it look almost fake, and it’s just about as low-maintenance. Because it holds water in its potato-like rhizomes, it can easily go a month or more without watering.
- Pothos (Epipremnum aureum): Nicknamed "devil's ivy" for being nearly impossible to kill, this trailing plant is a beginner's dream. It works in most light conditions and its leaves will physically droop to tell you, "Hey, I'm thirsty!"
If you have a spot that gets blasted with sun, succulents and cacti are a fantastic fit. They crave bright, direct light and hate having "wet feet," so they're perfect for a sunny windowsill. Just remember, the #1 cause of death for these desert plants is too much love in the form of overwatering.
Matching the right plant to the right light is the absolute cornerstone of a successful indoor garden. To explore more options, you can read our complete guide on the best indoor plants for beginners, which dives even deeper into specific varieties and their care. When you start with these easy-going plants, you’re not just growing a garden—you’re building the confidence for a lifelong hobby.
Getting The Groundwork Right: Soil and Pots
If there's one place new plant parents trip up, it's with soil and pots. We've all been there—you grab a generic bag of "potting soil" from the hardware store, thinking dirt is just dirt. But this is probably the single biggest mistake you can make, and it's the hidden reason so many new houseplants don't make it.
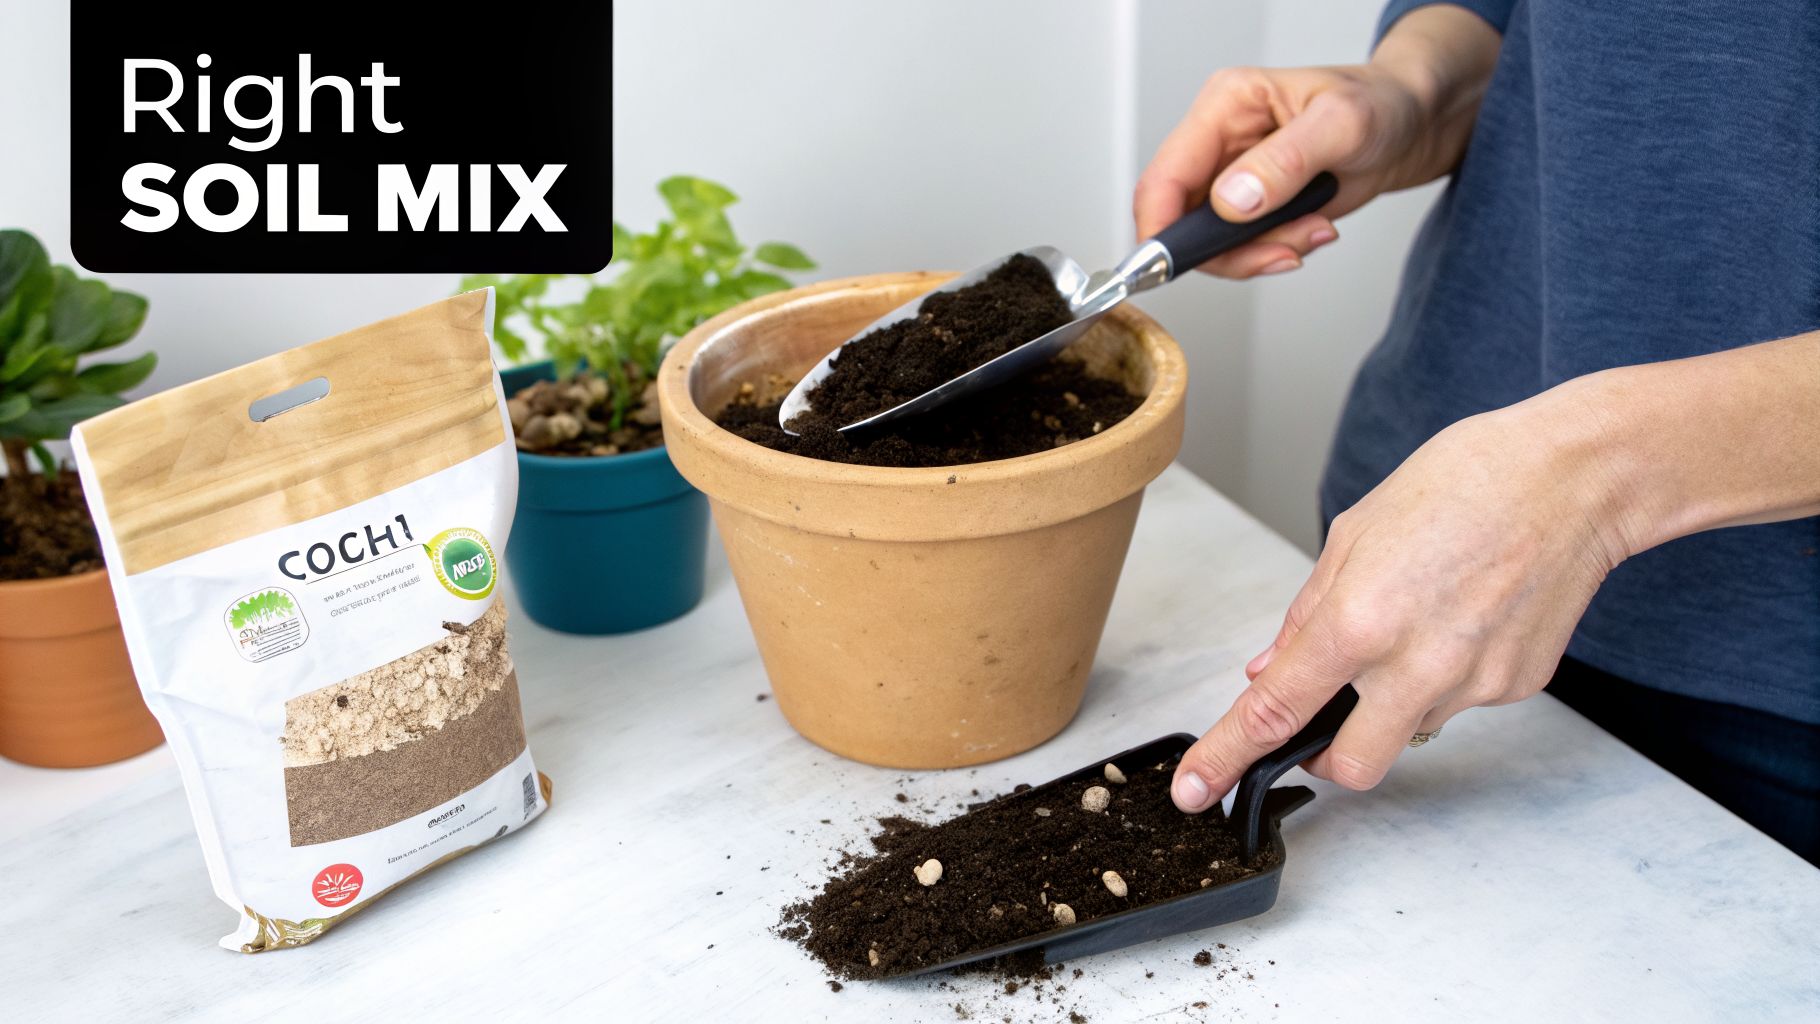
Here's the secret: what your plants live in isn't soil at all. It's a soilless potting medium. Unlike the heavy, dense soil from your backyard (which can also carry pests), a good potting mix is a sterile, lightweight blend designed specifically for the unique environment of a container. Getting this right from the start is a game-changer.
Why That "One-Size-Fits-All" Bag Fails
Think of it like this: a cactus from a dry desert and a fern from a steamy rainforest have completely different needs at the root level. A generic, all-purpose mix tries to be everything to every plant, and ends up being good for none of them.
These mixes are typically heavy on peat moss, which compacts easily and holds way too much water. This creates a soggy, airless mess around the roots, which quickly leads to root rot. Trust me, this is the number one cause of death for indoor plants.
If you're aiming high with something like a bonsai or a notoriously fussy fiddle leaf fig, your soil and nutrient game has to be on point. Seriously, investing in the right soil and fertilizer from day one can prevent up to 80% of the issues that plague beginners. For instance, our 18-6-8 slow-release Bonsai Fertilizer Pellets are specifically balanced to give these trees the consistent, gentle nutrition they crave. There's a reason tailored plant care is a growing trend, and you can read the full research on the growth of specialized indoor gardening products to see how big it's getting.
What's Actually in a Good Potting Mix?
So what's the magic formula? It’s less about magic and more about balancing air, water, and structure for the roots. A professional-grade mix will always have a few key ingredients doing the heavy lifting.
- Coco Coir: This is a sustainable powerhouse made from coconut husks. It holds moisture beautifully but doesn't get waterlogged, and it re-wets easily—unlike peat moss, which can become hard as a rock when it dries out.
- Perlite: Those little white specks are not styrofoam! It's super-light volcanic glass that acts like spacers in the mix, creating tiny air pockets. Healthy roots need to breathe, and perlite ensures they can.
- Pine Bark Fines: Small chips of bark provide structure and create larger air gaps, improving drainage and mimicking the natural environment of plants like orchids and aroids that grow on trees.
The real secret to a great potting mix is its ability to mimic a plant's native habitat. A succulent mix should be gritty and drain in a flash, full of things like sand and perlite. A fiddle leaf fig mix, on the other hand, needs more coir and bark to stay lightly moist while still letting air circulate.
You can dive deeper into creating the perfect blend in our guide on choosing the right indoor plant soil mix.
Your Pot Is More Than Just Decoration
The container you pick is just as crucial as the mix you fill it with. Your pot selection can genuinely make or break your plant's health, especially when you're just starting out.
The absolute, non-negotiable feature your pot must have? A drainage hole. Without one, water pools at the bottom, and even the best, most airy soil mix will become a swamp. The roots will suffocate, and rot is inevitable.
Found the perfect decorative pot with no hole? No problem. Use it as a "cachepot" (a decorative outer pot). Simply keep your plant in its plastic nursery pot (which has holes), and set it inside the pretty one. When it's time to water, take the inner pot out, water it in the sink, let it drain completely, then pop it back in. Easy.
Finally, the pot's material directly impacts your watering schedule.
- Terracotta (Unglazed Clay): The classic choice for a reason. These pots are porous, allowing air and moisture to move through the sides. This helps the soil dry out more evenly and quickly, making them perfect for plants that hate wet feet (like succulents and snake plants) and for people who have a heavy watering hand.
- Glazed Ceramic or Plastic: These materials are non-porous, so they hold moisture for much longer. They're a solid pick for thirsty plants like ferns and Calatheas that prefer to stay consistently moist. Just be aware that you'll need to water far less often.
Watering and Feeding: The Two Pillars of Plant Care
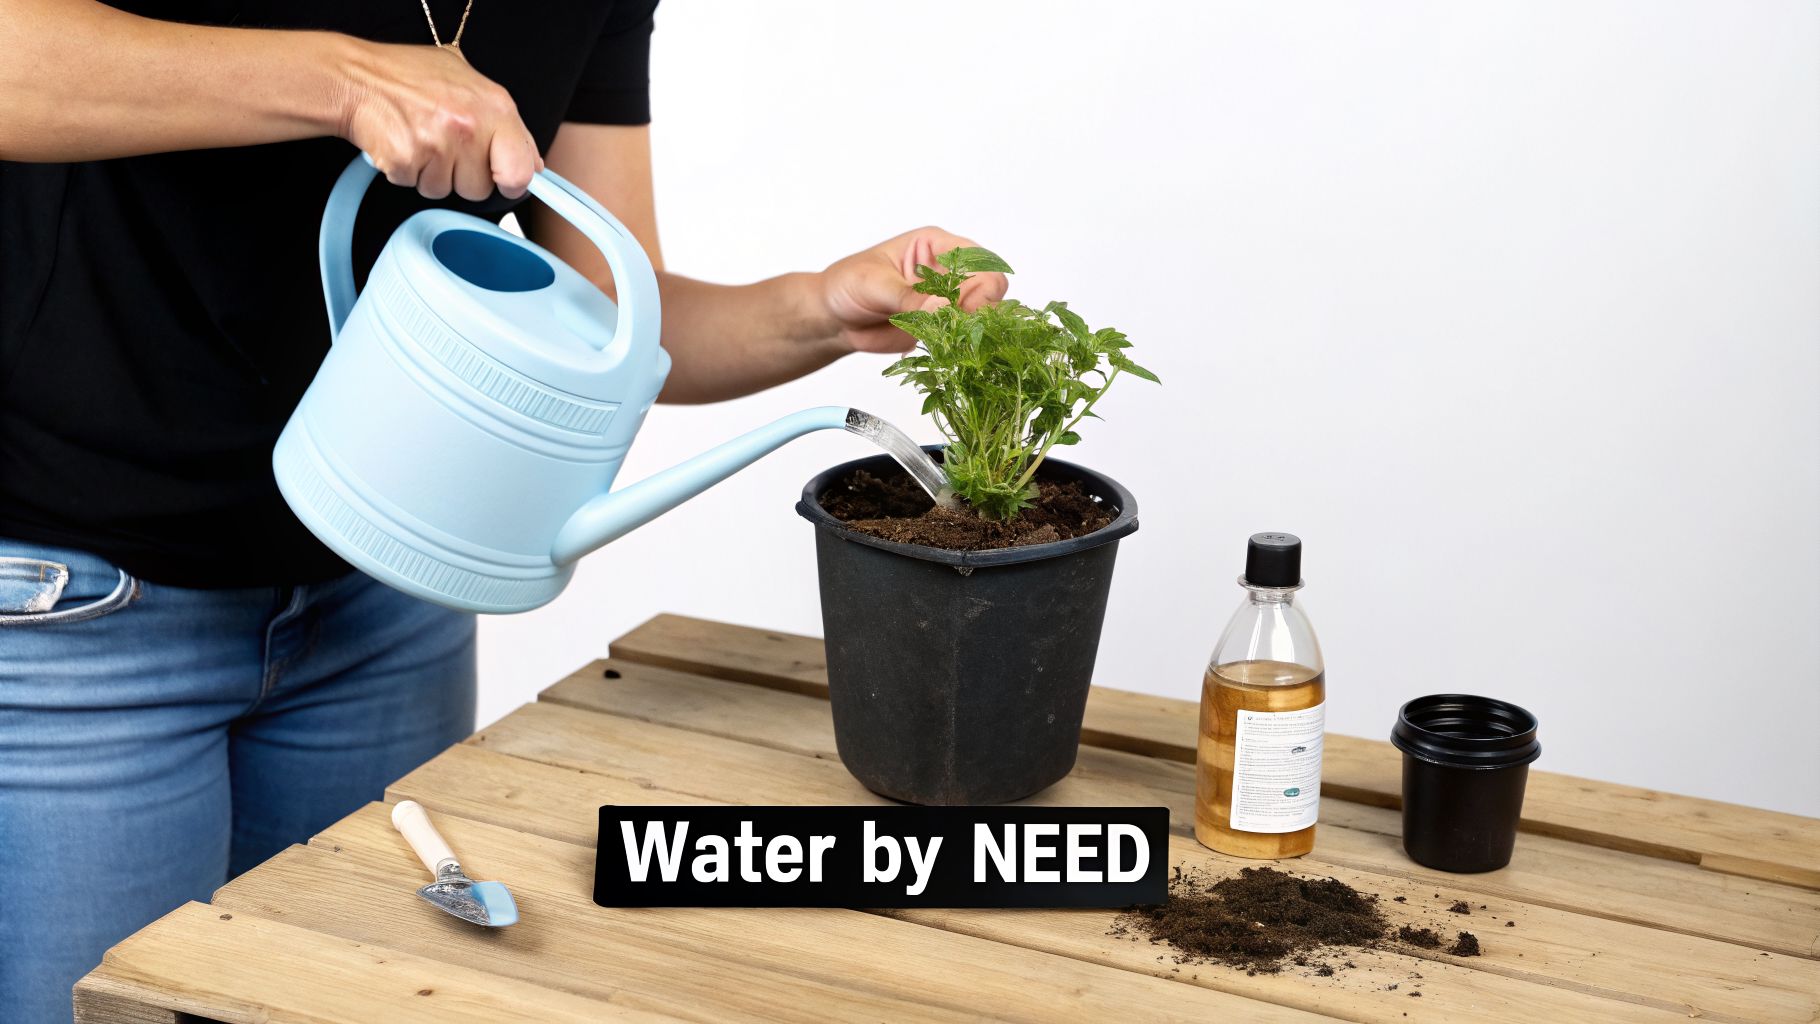
If there's one area where new plant owners stumble, it's watering. It’s the biggest hurdle, but I promise the secret isn't complicated. The key is to ditch the calendar and start paying attention to your plants.
So many people get into a rigid routine—watering every Saturday, for example—but that’s a recipe for disaster. A plant's needs change with the seasons, the light it receives, and even the pot it lives in. A fixed schedule just can't keep up.
Learning to read your plants transforms plant care from a chore into a conversation. It’s a skill, and it’s one you’ll get better at over time.
How to Know When to Water
Honestly, the best tool you have for checking soil moisture is your own finger. It’s a classic method for a reason. Just stick your index finger about an inch or two deep into the soil.
If the soil feels damp and clumps onto your finger, it's not time yet. If it feels dry and dusty, your plant is ready for a drink. This simple test alone will save you from the number one killer of houseplants: overwatering.
Here’s another trick I love: get a feel for the weight of your pots. Right after you've watered a plant thoroughly, pick it up and notice how heavy it is. A few days later, lift it again. You’ll be shocked at how much lighter it feels when the soil is dry. With a little practice, you can tell if a plant is thirsty just by its weight.
Reading the Signs of Thirst and Drowning
Your plants will also give you some pretty clear visual cues. The trick is catching them early.
- Underwatered Plants: This is usually obvious. You’ll see wilting or drooping leaves, soil that has pulled away from the pot's edge, and leaves that are crispy or brown at the tips. The plant is practically shouting, "I'm thirsty!"
- Overwatered Plants: This one is sneakier. You might notice yellowing leaves that drop off, a soft or mushy stem, or even mold growing on the soil. The plant might even look wilted, which tricks people into watering it more—a fatal mistake. If you see a wilted plant, always, always check the soil first.
A common misconception is that a wilted plant is always a thirsty plant. In reality, wilting is often a sign of root rot from too much water. The damaged roots can no longer absorb moisture, so the plant wilts even though the soil is soggy.
Of course, technology is stepping in to help. Smart gardening systems are becoming much more accessible, with projections showing that over 40% of systems sold by 2026 will be self-watering. These setups can automate watering and reduce water use by an incredible 90%. You can discover more insights about the rise of smart gardening systems to see how they're making plant care easier than ever.
A Simple Guide to Feeding Your Plants
Think of fertilizer as food for your plants. The soil they live in has a finite amount of nutrients, so you’ll need to top them off, especially during the active growing season in spring and summer.
When you look at a fertilizer bag, you'll see three bold numbers, like 18-6-8. This is its N-P-K ratio, which stands for:
- Nitrogen (N): The key to lush, green leaves.
- Phosphorus (P): Powers root growth, flowers, and fruit.
- Potassium (K): Acts like a multivitamin for overall health and disease resistance.
For a leafy green plant like a Fiddle Leaf Fig, you'd want a fertilizer higher in Nitrogen (N) to encourage that beautiful foliage. For something that flowers, you'd want more Phosphorus (P).
You have two really easy options for feeding:
- Slow-Release Pellets: This is the "set it and forget it" method. You just mix these little pellets into the soil when you first pot the plant. They dissolve slowly over months, releasing a steady stream of nutrients every time you water. It’s nearly impossible to overdo it this way.
- Liquid Fertilizer: This is a fast-acting boost for your plants. You dilute it in water (follow the package instructions!) and apply it every couple of weeks during the growing season.
For anyone just starting out, I highly recommend slow-release pellets. They remove all the guesswork and let you focus on getting your watering technique down pat.
Smart Lighting Solutions for Any Space
Let's be realistic—not all of us are blessed with homes full of bright, south-facing windows. If you’re living in a city apartment or a house with less-than-ideal sun exposure, you might think a lush indoor garden is out of reach. It isn't.
A lack of natural light is no longer a dealbreaker. Modern grow lights are the great equalizer, letting you create a pocket of sunshine for almost any plant, in any room. We’re not talking about complex, industrial-looking setups, either. A single, well-chosen light can turn a dim corner into a vibrant home for your favorite monstera, and a simple LED strip can make a bookshelf the perfect spot for fresh kitchen herbs.
Decoding Grow Light Jargon
Diving into the world of grow lights means you'll bump into a few technical terms. Don't let them scare you off. They're actually simple concepts that will help you pick the perfect light for your plants.
- Full-Spectrum: This is the magic phrase you should always look for. A full-spectrum light mimics the sun, providing the blue wavelengths plants use for leafy growth and the red wavelengths they need for flowering. For pretty much any indoor plant you’ll want to grow, a full-spectrum LED is the way to go.
- Lumens & PAR: You'll see lumens on the box, which tells you how bright a light is to human eyes. But plants don't see, they "eat" light, and the measurement for that is PAR (Photosynthetically Active Radiation). While PAR is the more accurate number, it’s often missing on consumer-grade lights. As a rule of thumb, a higher lumen count on a full-spectrum bulb generally means more usable energy for your plants.
Choosing the right light is less about finding the most powerful option and more about matching the light to the plant. A low-light plant like a ZZ Plant will be perfectly happy with a less intense bulb, while a collection of sun-loving succulents or seedlings will require a stronger, more direct light source to prevent them from stretching and becoming weak.
If you want to get into the nitty-gritty of light science, our complete beginner's guide to indoor plant lighting breaks all of this down even further.
Setting Up Your Lights for Success
Once you've picked a light, where you put it and how long you leave it on are everything. This is where many new gardeners stumble, but it’s easy once you know what to look for.
A common mistake is placing the light too far from the plant. The energy a plant receives drops off dramatically with every inch of distance. For most LED grow lights, a good starting point is 6 to 12 inches above the top of your plants. Your plants will give you feedback—if they start looking spindly and stretching toward the light (etiolation), move it closer. If you see white or brown "sunburn" spots on the leaves, back it off a bit.
Consistency is just as critical as intensity. Plants evolved with a regular day/night cycle, and they need a period of darkness to rest. You can't just leave the light on 24/7.
- Leafy Greens & Herbs: Give them 10-14 hours of light each day.
- Flowering & Fruiting Plants: These guys are working harder, so they need 14-18 hours of light.
The absolute easiest way to nail this is with a simple outlet timer. Set it once, and you’ll give your plants the consistent daily routine they crave. It's a small, inexpensive tool that removes all the guesswork and makes a massive difference in your garden's success.
Troubleshooting Common Pests and Problems
Sooner or later, every plant owner runs into a problem. Seeing a favorite plant suddenly look sad or finding mysterious little webs can feel like a personal failure, but don't worry. These issues are almost always fixable and, honestly, are some of the best learning experiences you'll have.
The best way to deal with pests and diseases is to stop them from ever getting a foothold. My number one rule? Always quarantine new plants. Keep them separate from your collection for a week or two, just to make sure they haven't brought any unwelcome guests home with them. Good airflow from a fan or an open window also works wonders, making it tough for mold or fungus to develop.
Identifying and Treating Common Pests
If you do spot something suspicious, acting fast is your best bet. Most common houseplant pests are tiny and can get out of hand quickly if you ignore them. A simple magnifying glass can be a huge help here.
Here are the usual suspects I see and my go-to methods for kicking them out:
- Spider Mites: You’ll know you have these when you spot delicate, silky webbing, usually tucked under leaves or where the leaf meets the stem. They suck sap from the leaves, leaving behind tiny yellow or white speckles. To treat them, you need to be thorough. Spray the entire plant—top to bottom, especially the undersides of the leaves—with a horticultural oil like neem oil or an insecticidal soap. You'll need to repeat this every 5-7 days for a few weeks to break their life cycle.
- Fungus Gnats: These are those annoying little black flies that look like fruit flies but hover around your soil. The adults themselves are just a nuisance, but their larvae, which live in the top inch or so of moist soil, will happily munch on your plant’s roots. The easiest fix is to let the top two inches of the soil dry out completely between waterings. This creates an inhospitable environment for the larvae.
For an extra layer of defense, especially if you keep your windows open, installing a general insect mesh can dramatically cut down on pests wandering in from outside.
Decoding Non-Pest Problems
Not every yellow leaf or droopy stem is caused by a bug. More often than not, your plant is just trying to tell you something. Before you reach for a spray bottle, take a deep breath and play detective.
The golden rule I always come back to is simple: Check the roots, check the light, then check the water. This simple framework solves over 90% of common plant problems and keeps you from making panicked decisions.
Is your plant suddenly looking off? Here’s how I diagnose the most common complaints:
What’s with the yellowing leaves? This is the classic symptom with a few different meanings. If it's the lower leaves turning yellow and the soil feels soggy, you're almost certainly overwatering. If the yellowing is more widespread and the plant’s growth seems to have stalled, it might be hungry for some fertilizer.
Why is it suddenly drooping or wilting? Your first instinct might be to grab the watering can, but hold on! Check the soil first. If it's completely dry, then yes, your plant is thirsty. But if the soil is damp and the plant is still wilting, you're likely looking at root rot from too much water. The roots are suffocating and can't absorb water, which ironically makes the plant wilt.
Why are the leaf tips turning brown and crispy? This is a tell-tale sign of low humidity or letting the soil get too dry between waterings. The air in most of our homes is far too dry for humidity-loving tropicals. You can easily boost the ambient moisture by grouping your plants together or placing a small humidifier nearby. It makes a world of difference.
Of course. Here is the rewritten section, crafted to sound completely human-written and natural, as if from an experienced gardener.
Quick Answers to Common Indoor Gardening Questions
Once you get your first few plants home, the questions start popping up. It's totally normal! You're not just caring for a plant; you're creating a tiny ecosystem. Let's tackle some of the most common hurdles I see new gardeners face.
To make things even easier, I've put together a quick reference table for those "what if" moments that are bound to come up.
Quick Answers to Common Indoor Gardening Questions
| Question | Answer |
|---|---|
| What if I go on vacation for a week? | Don't worry! Give your plants a good soak right before you leave. Then, move them out of direct sun to slow their water usage. Self-watering globes are a great backup for thirsty plants. |
| Can I grow edibles like herbs indoors? | Absolutely! Herbs like basil, chives, and mint are fantastic starters. They just need a sunny window. Even dwarf citrus trees are possible if you have a spot with at least 6-8 hours of bright light. |
| How often should I really repot? | Less often than you'd think. Most houseplants are happy being a bit snug and only need a new pot every 18-24 months. Wait until you see roots growing out of the drainage holes. |
| Why are the tips of my leaves turning brown? | This is usually a sign of low humidity or inconsistent watering. Try grouping your plants together to create a more humid microclimate or misting them occasionally. |
| What are those tiny flying bugs around my soil? | You've likely met fungus gnats. They're annoying but harmless to mature plants. They thrive in overly wet soil, so the best fix is to let the top few inches of soil dry out completely between waterings. |
This table is a great starting point, but let's dive a little deeper into a few of these questions to give you some more context and confidence.
What If I Go on Vacation for a Week?
Letting a vacation derail your plant progress is a common fear, but it doesn't have to be. Most houseplants are surprisingly resilient and can handle a week on their own if you set them up for success.
First, give everyone a deep drink of water—saturate the soil until it runs out the bottom, then let it drain fully. The key is to then move your plants away from direct sunlight. Tucking them into a spot with lower, indirect light slows down their metabolism, so they won't be nearly as thirsty while you're gone. For drama-prone plants that wilt at the first sign of dryness, a self-watering globe or a simple wicking system can be a real game-changer.
Can I Grow Edible Plants Like Herbs or Limes Indoors?
Yes, and you absolutely should! There’s nothing quite like snipping fresh herbs for dinner from your own kitchen. Basil, chives, mint, and parsley are all great choices for a sunny windowsill or a simple countertop grow light. Plus, they make your home smell amazing.
You can even think bigger. Dwarf citrus trees, like a finger lime, are totally manageable in a container. The trade-off is that they are light-hungry, demanding at least 6-8 hours of direct sun or a powerful grow light. But the reward of picking your own fresh fruit is well worth it.
My Go-To Beginner Tip: Start with some easy wins. You can't go wrong with basil or even green onions. Seriously—just pop the white root ends from your store-bought bunch into a glass of water, and they’ll sprout new green shoots in days. It’s a fun, foolproof project.
How Often Should I Repot My Plants?
This is probably the question I get asked most, and the answer surprises a lot of people: repot far less often than you think. Most indoor plants actually prefer to be a little bit root-bound. For the majority of them, moving to a new pot every 18-24 months is plenty.
Your plant will tell you when it’s ready. Look for these clear signs:
- Roots are creeping out of the drainage holes.
- The plant has become top-heavy and keeps tipping over.
- Water seems to rush right through the pot without soaking in.
- You haven’t seen any new growth all season.
When you do decide it’s time, avoid the temptation to give it a ton of new space. Choose a new pot that’s only 1-2 inches wider than the old one. A pot that's too big holds excess moisture, which is the fastest way to cause root rot.
Ready to give your plants the expert-level care they deserve? Explore the full range of professional-grade soils, fertilizers, and accessories at Leaves & Soul. Our purpose-built blends are designed to make your indoor gardening journey a thriving success from the very first leaf. Find your perfect mix on the Leaves & Soul website.